 Writer:
julian miller
Writer:
julian miller

San Francisco, CA – iWatermark, is the No. 1 and only watermarking tool available for all 4 platforms, iPhone/iPad, Mac, Android and Windows. iWatermark is the most popular multi-platform professional watermarking tool for photos.
Easily, secure and protect your photos with Text, Graphic, Vector, Lines, Border, Text On Arc, Text Banner, QR Code, Signature Metadata and Steganographic watermarks. Once added to a photo this watermark shows it was created and is owned by you.
Plum Amazing CEO said “If you share an amazing photo you’ve taken via Email, Facebook, Instagram, Twitter, etc. it’s very likely to go viral then fly off globally out of your control and without any connection to you as the creator.” He paused, then added, “The simple solution is to digitally sign your photos/artwork using iWatermark with your name, email or url then your photos have a visible and legal connection to you wherever they may roam.”
The watermark types in iWatermark are not found in any other software. Some watermarks are visible and others invisible. Both serve different purposes. A visible watermark is where you superimpose your logo or signature onto your image.
Visible Watermarks
Text – Any text including metadata with settings to change font, size, color, rotation, etc.
Text Arc – Text on a curved path.
Bitmap Graphic – A graphic is usually a transparent .png file like your logo, brand, copyright symbol, etc. To import.
Vector Graphic – Use over 5000 built-in vector (SVG’s) to display perfect graphics at any size.
Border Graphic – A vector border that can be stretched around an image and customized using a variety of settings.
Lines – Very popular with stock photo houses this is a subtle but hard to remove watermark.
Banner – Adds a banner area to any photo where text can be added.
QR Code – A kind of barcode with information like email or url in it’s coding.
Signature- Sign, import or scan your signature into a watermark to sign your creations.
An invisible watermark is hidden throughout the picture, within the numbers that create the photos, is a recognizable pattern that identifies it as being your artwork. It is harder to remove.
Invisible Watermarks
Metadata – Adding information (like your email or url) to the IPTC or XMP part of the photo file.
StegoMark – StegoMark is our proprietary steganographic method of embedding information like your email or url into the picture data itself. It can be available or hidden with a password.
iWatermark is a specialized tool to watermark photographs. Less expensive, more efficient, faster and simpler to use then PhotoShop. iWatermark is designed exclusively for watermarking by a photographer for photographers.
Major Features
* Works standalone or in conjunction with Lightroom, Photoshop, Apple Photos, Google Photos and other photo organizers
* Batch or sequential processing.
* IMPORTANT: Relative or absolute scaling of watermarks. Essential when batch processing different resolution and orientation photos.
* Design, edit and manage a library of watermarks.
* Tags are metadata (GPS, Exif, XMP, numbering, date/time) that can be added to text watermarks.
* Resize from input to output.
* Rename files from input to output.
* Add thumbnails for files
* Input/Output from/to all major file types JPEG, TIFF, PNG, RAW, etc.
* Create text, graphic, or QR watermarks.
* Adjust opacity, font, color, border, scale, rotation, shadow, special effects, etc.
* Use
* Export watermarks and use in the Mac version.
* Fast 32/64 bit multi-threaded app that can use multiple CPU/GPU’s .
* User selectable color profiles.
* Add, remove and edit metadata (EXIF, GPS and XMP).
* Unlimited fonts.
* Great manual and support.
* Share to Facebook, Flickr, Instagram, Twitter and many more.
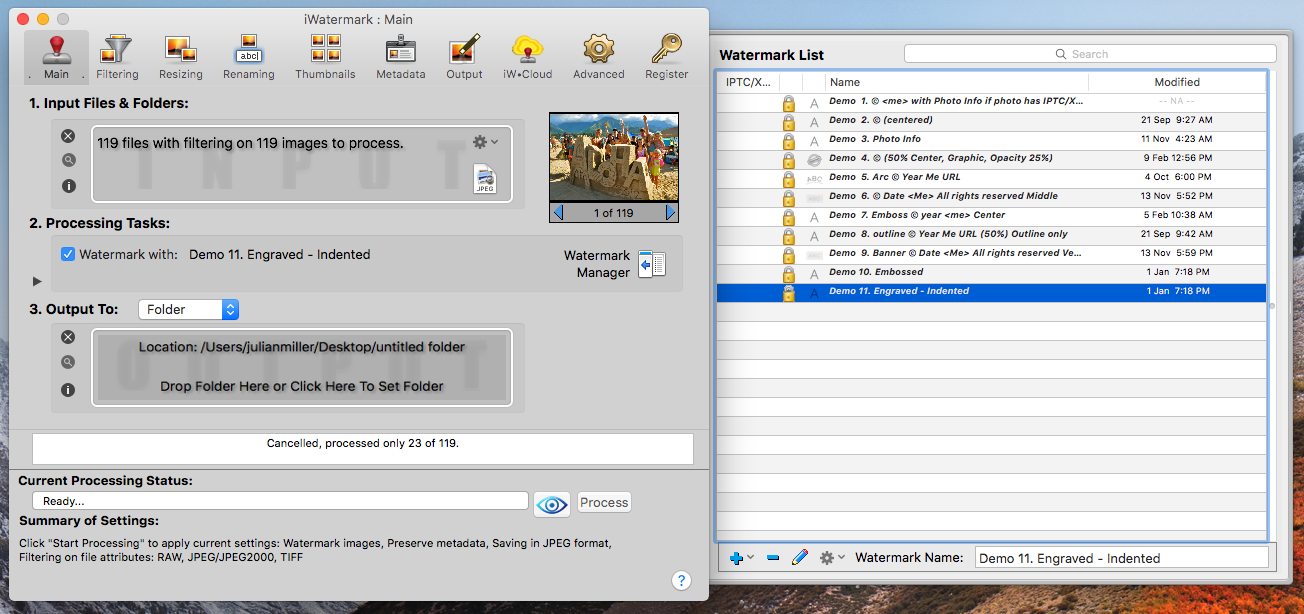
* Watermark manager which can track hundreds of watermarks. The manager also allows locking/unlocking, embedding IPTC/XMP, searching, renaming, deleting, previewing, merging, exporting, batch processing and sharing of watermarks.
* Embed IPTC/XMP data each time it’s used with or without a visible watermark. Great for news organizations.
* Continually updated and improved.
* Much more….
✔ Easily, secure and protect your photos with visible & invisible watermarks which display they were created and are owned by you.
Changes in version 2.0
– Updated Tags in iWatermark Text editor for GPS (Alt. Speet and Lat.) and Current (date, time, year, total) and File Attributes.
– Enabled rotation and scaling gestures in Text, Graphic and Vector watermarks. And Smart Zoom for turning scaling on/off.
– Enabled Quick Look at preview click smart Zoom on input preview. ie. Force Click and haptic feedback.
– Fixed sorting order of Watermark manager ICON column.
– Enabled Counter in Rename Tab all the time, since it also used in Mata Data Tags.
– Fixed Text Editor Menu inserting tag was missing
– Added Tags for Creation Month, Creation Day and Month## and Day##.
For creation date of photo: <month##> <day%%>
to allow .<month##>.<day##>to produce 2017.03.10 in text tags.
– added Emboss / Engraved Text
– Many ui changes
– New watermarks added since version 1.0, Lines, Border, Text On Arc and Text Banner
– Fixed text Editor background color also switching off Dropshadow.
– Added watermark key backgroundOnOff – boolean to track if alpha is Zero (off).
– Fixed sorting order of Watermark manager ICON column.
– Enabled Counter in Rename Tab all the time, since it is also used in Meta Data Tags.
– Added tag for 7 digit GPS ‘ ‘, ‘ ‘ give 3 digit accuracy.
– Updated Tags in iWatermark Text editor for GPS (Alt. Speet and Lat.) and Current (date, time, year, total) and File Attributes
– Enabled rotation and scaling gestures in Text, Graphic and Vector watermarks. And Smart Zoom for turing scaling on/off.
– Editor: Performance: Enabled caching of source image in editor for faster redrawing. Most noticeable when source is large RAW image.
– Optimized and bugs fixed
– Updated manual.